Clutch Rod Repair
 It is all too common to have the lower clutch rod break usually at a very inconvient moment! The rod is shown here at the bottom of the picture and it usually breaks near to where it passes through the hole in the drop arm. When the clutch is depressed the rod is pulled backwards thus pulling the drop arm backwards. The drop arm pivots about the transverse rod above it and thus not only move backwards but upwards too in a circular motion. The hole in the drop arm is not much larger than the rod so if the arm moves too far the rod is bent upwards. After many miles of being bent and pulled at the same time the rod finally breaks. Of course if everything was set up properly (Section E.8 of the Workshop Manual) and nothing was worn there would not be a problem but wear takes it toll and the inevitable happens.
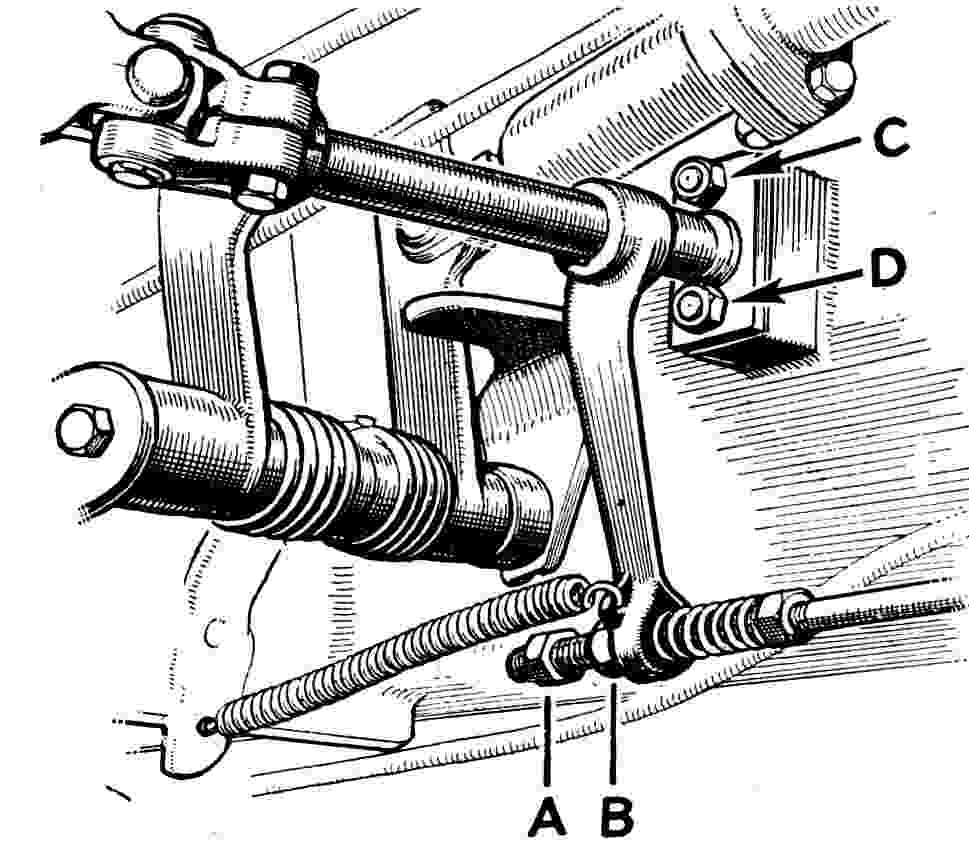
For those in a hurry there is a simple way to repair the old rod which will minimize the risk of further breakages even if the adjustment is not quite right. To do this you will need a 5/16BSF die and stock, a fork end threaded 5/16BSF and an RMA engine steady cable. The cable has an end threaded to 5/16BSF at one end and an eye hole at the other end. Attach the threaded fork end to the eye hole with a clevis pin and pass the threaded end of the steady cable through the hole in the drop arm. The old clutch rod should be cut and threaded to fit into the fork end. The clutch can now be adjusted as normal.
This time if the rod wants to bend as it is pulled back it will be able to bend at the wire as well as pivoting at the fork. If the adjustment is a long way out the wire will bend excessively where it joins the threaded end and will break eventually. If this does happen, replacing the steady cable with a new one is a simple and quick process.
I have had this working on my RME for many years without any further breakage. If the unthinkable should happen in the future I even have a spare cable I could use in an emergency attached to the engine!